Ubuntu 18.04 安装 FastDFS & Nginx
FastDFS
FastDFS 是用 C 语言编写的一款开源的分布式文件系统,它是由淘宝资深架构师余庆编写并开源。FastDFS 专为互联网量身定制,充分考虑了冗余备份、负载均衡、线性扩容等机制,并注重高可用、高性能等指标,使用 FastDFS 很容易搭建一套高性能的文件服务器集群提供文件上传、下载等服务。
为什么要使用 FastDFS 呢?
通用的分布式文件系统的优点的是开发体验好,但是系统复杂性高、性能一般,而专用的分布式文件系统虽然开发体验性差,但是系统复杂性低并且性能高。FastDFS 非常适合 存储图片等那些小文件,FastDFS 不对文件进行分块,所以它就没有分块合并的开销,并且 FastDFS 网络通信采用 socket,通信速度很快。
接下来介绍如何 Ubuntu 18.04 服务器上安装 FastDFS。
下载软件
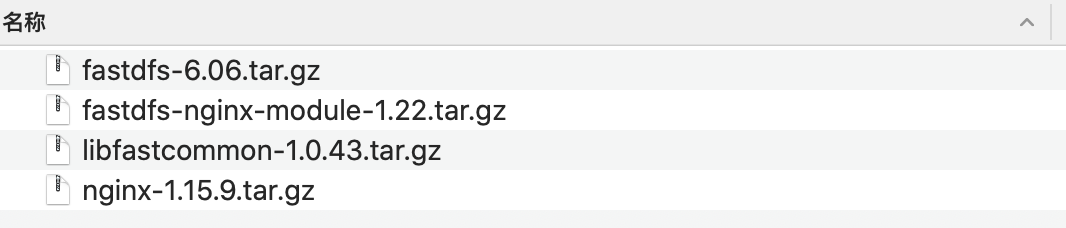
FastDFS 需要下载如下的软件包:
本教程下载的版本如下:
接下来使用 sftp 命令将下载好的软件上传到服务器当中。
安装FastDFS
安装FastDFS依赖包
首先解压 libfastcommon-1.0.43.tar.gz
tar -xzvf libfastcommon-1.0.43.tar.gz
解压完成之后进入对应目录
cd libfastcommon-1.0.43/
执行编译操作
./make.sh
进行安装
sudo ./make.sh install
安装FastDFS
解压fastdfs-6.06.tar.gz
tar -xzvf fastdfs-6.06.tar.gz
进入到对应目录
cd fastdfs-6.06/
执行编译操作
./make.sh
进行安装
sudo ./make.sh install
配置FastDFS
配置tracker
复制tracker.conf.sample
sudo cp /etc/fdfs/tracker.conf.sample /etc/fd
fs/tracker.conf
在/home/wx/(对应自己用户名)目录中创建目录 fastdfs/tracker
配置对应的tracker.conf
sudo vi /etc/fdfs/tracker.conf
修改如下内容:
base_path=/home/wx/fastdfs/tracker
配置存储storage
复制storage.conf.sample
sudo cp /etc/fdfs/storage.conf.sample /etc/fd
fs/storage.conf
在/home/wx/(对应自己用户名)fastdfs/ 目录中创建目录 storage
编辑/etc/fdfs/storage.conf配置文件
sudo vi /etc/fdfs/storage.conf
修改如下内容:
base_path=/home/wx/fastdfs/storage
store_path0=/home/wx/fastdfs/storage
tracker_server=自己服务器ip:22122
启动tracker和storage
使用如下的命令来启动:
sudo /usr/bin/fdfs_trackerd /etc/fdfs/tracker.conf start
sudo /usr/bin/fdfs_storaged /etc/fdfs/storage.conf start
查看是否启动成功:
ps aux|grep dfs
看到有如下的记录被查找到则启动成功:

FastDFS控制
fdfs_trackerd:tracker脚本,通过此脚本对 tracker进行启动和停止
# 重启
sudo /usr/bin/fdfs_trackerd /etc/fdfs/tracker.conf restart
# 停止
sudo /usr/bin/fdfs_trackerd /etc/fdfs/tracker.conf stop
fdfs_storaged:storage脚本,通过此脚本对 storage进行启动和停止
# 重启
sudo /usr/bin/fdfs_storaged /etc/fdfs/storage.conf restart
# 停止
sudo /usr/bin/fdfs_storaged /etc/fdfs/storage.conf stop
上传文件测试
复制 client.conf.sample
sudo cp /etc/fdfs/client.conf.sample /etc/fdf
s/client.conf
编辑/etc/fdfs/client.conf配置文件
sudo vi /etc/fdfs/client.conf
修改内容如下:
base_path=/home/python/fastdfs/tracker
tracker_server=自己服务器ip:22122
上传测试图片:
fdfs_upload_file /etc/fdfs/client.conf ~/1.jpg
返回如下的结果证明上传成功:
group1/M00/00/00/wKh0gV6AHlmAE3wKAACvCsI7WgM913.jpg
安装Nginx
解压nginx-1.15.9.tar.gz 和 fastdfs-nginx-module-1.22.tar.gz
tar -xzvf nginx-1.15.9.tar.gz
tar -xzvf fastdfs-nginx-module-1.22.tar.gz
进入解压的目录
cd nginx-1.15.9/
配置 Nginx
sudo ./configure --prefix=/usr/local/nginx --
add-module=/home/wx/fastdfs/fastdfs-nginx-module-1.22/src/
出现如下错误的话:
./configure: error: the HTTP rewrite module requires the PCRE library.
You can either disable the module by using --without-http_rewrite_module
option, or install the PCRE library into the system, or build the PCRE library
statically from the source with nginx by using --with-pcre=<path> option.

./configure: error: the HTTP gzip module requires the zlib library.
You can either disable the module by using --without-http_gzip_module
option, or install the zlib library into the system, or build the zlib library
statically from the source with nginx by using --with-zlib=<path> option.
安装libpcre3-dev 和 zlib1g-dev
sudo apt install libpcre3-dev
sudo apt install zlib1g-dev
之后再重新执行配置命令。
配置命令执行成功之后进行编译安装:
sudo make
sudo make install
安装完成之后复制/mod_fastdfs.conf
sudo cp fastdfs-nginx-module-1.22/src/mod_fastdfs.conf /et
c/fdfs/mod_fastdfs.conf
修改mod_fastdfs.conf
sudo vi /etc/fdfs/mod_fastdfs.conf
修改内容如下:
connect_timeout=10
tracker_server=自己服务器ip:22122
url_have_group_name=true
store_path0=/home/wx/fastdfs/storage
复制http.conf 和 mime.types
sudo cp fastdfs-6.06/conf/http.conf /etc/fdfs/http.conf
sudo cp fastdfs-6.06/conf/mime.types /etc/fdfs/mime.types
修改Nginx配置:
sudo vi /usr/local/nginx/conf/nginx.conf
在http里新增一个监听端口:
    server {
    	listen	8888;
	    server_name	localhost;
	    location ~/group[0-9]/ {
		    ngx_fastdfs_module;
	    }
	    error_page   500 502 503 504  /50x.html;
	    location = /50x.html {
            root   html;
        }
    }
启动nginx
sudo /usr/local/nginx/sbin/nginx
返回如下内容启动成功:
ngx_http_fastdfs_set pid=43743
接下来可以通过浏览器来访问刚才上传的图片:
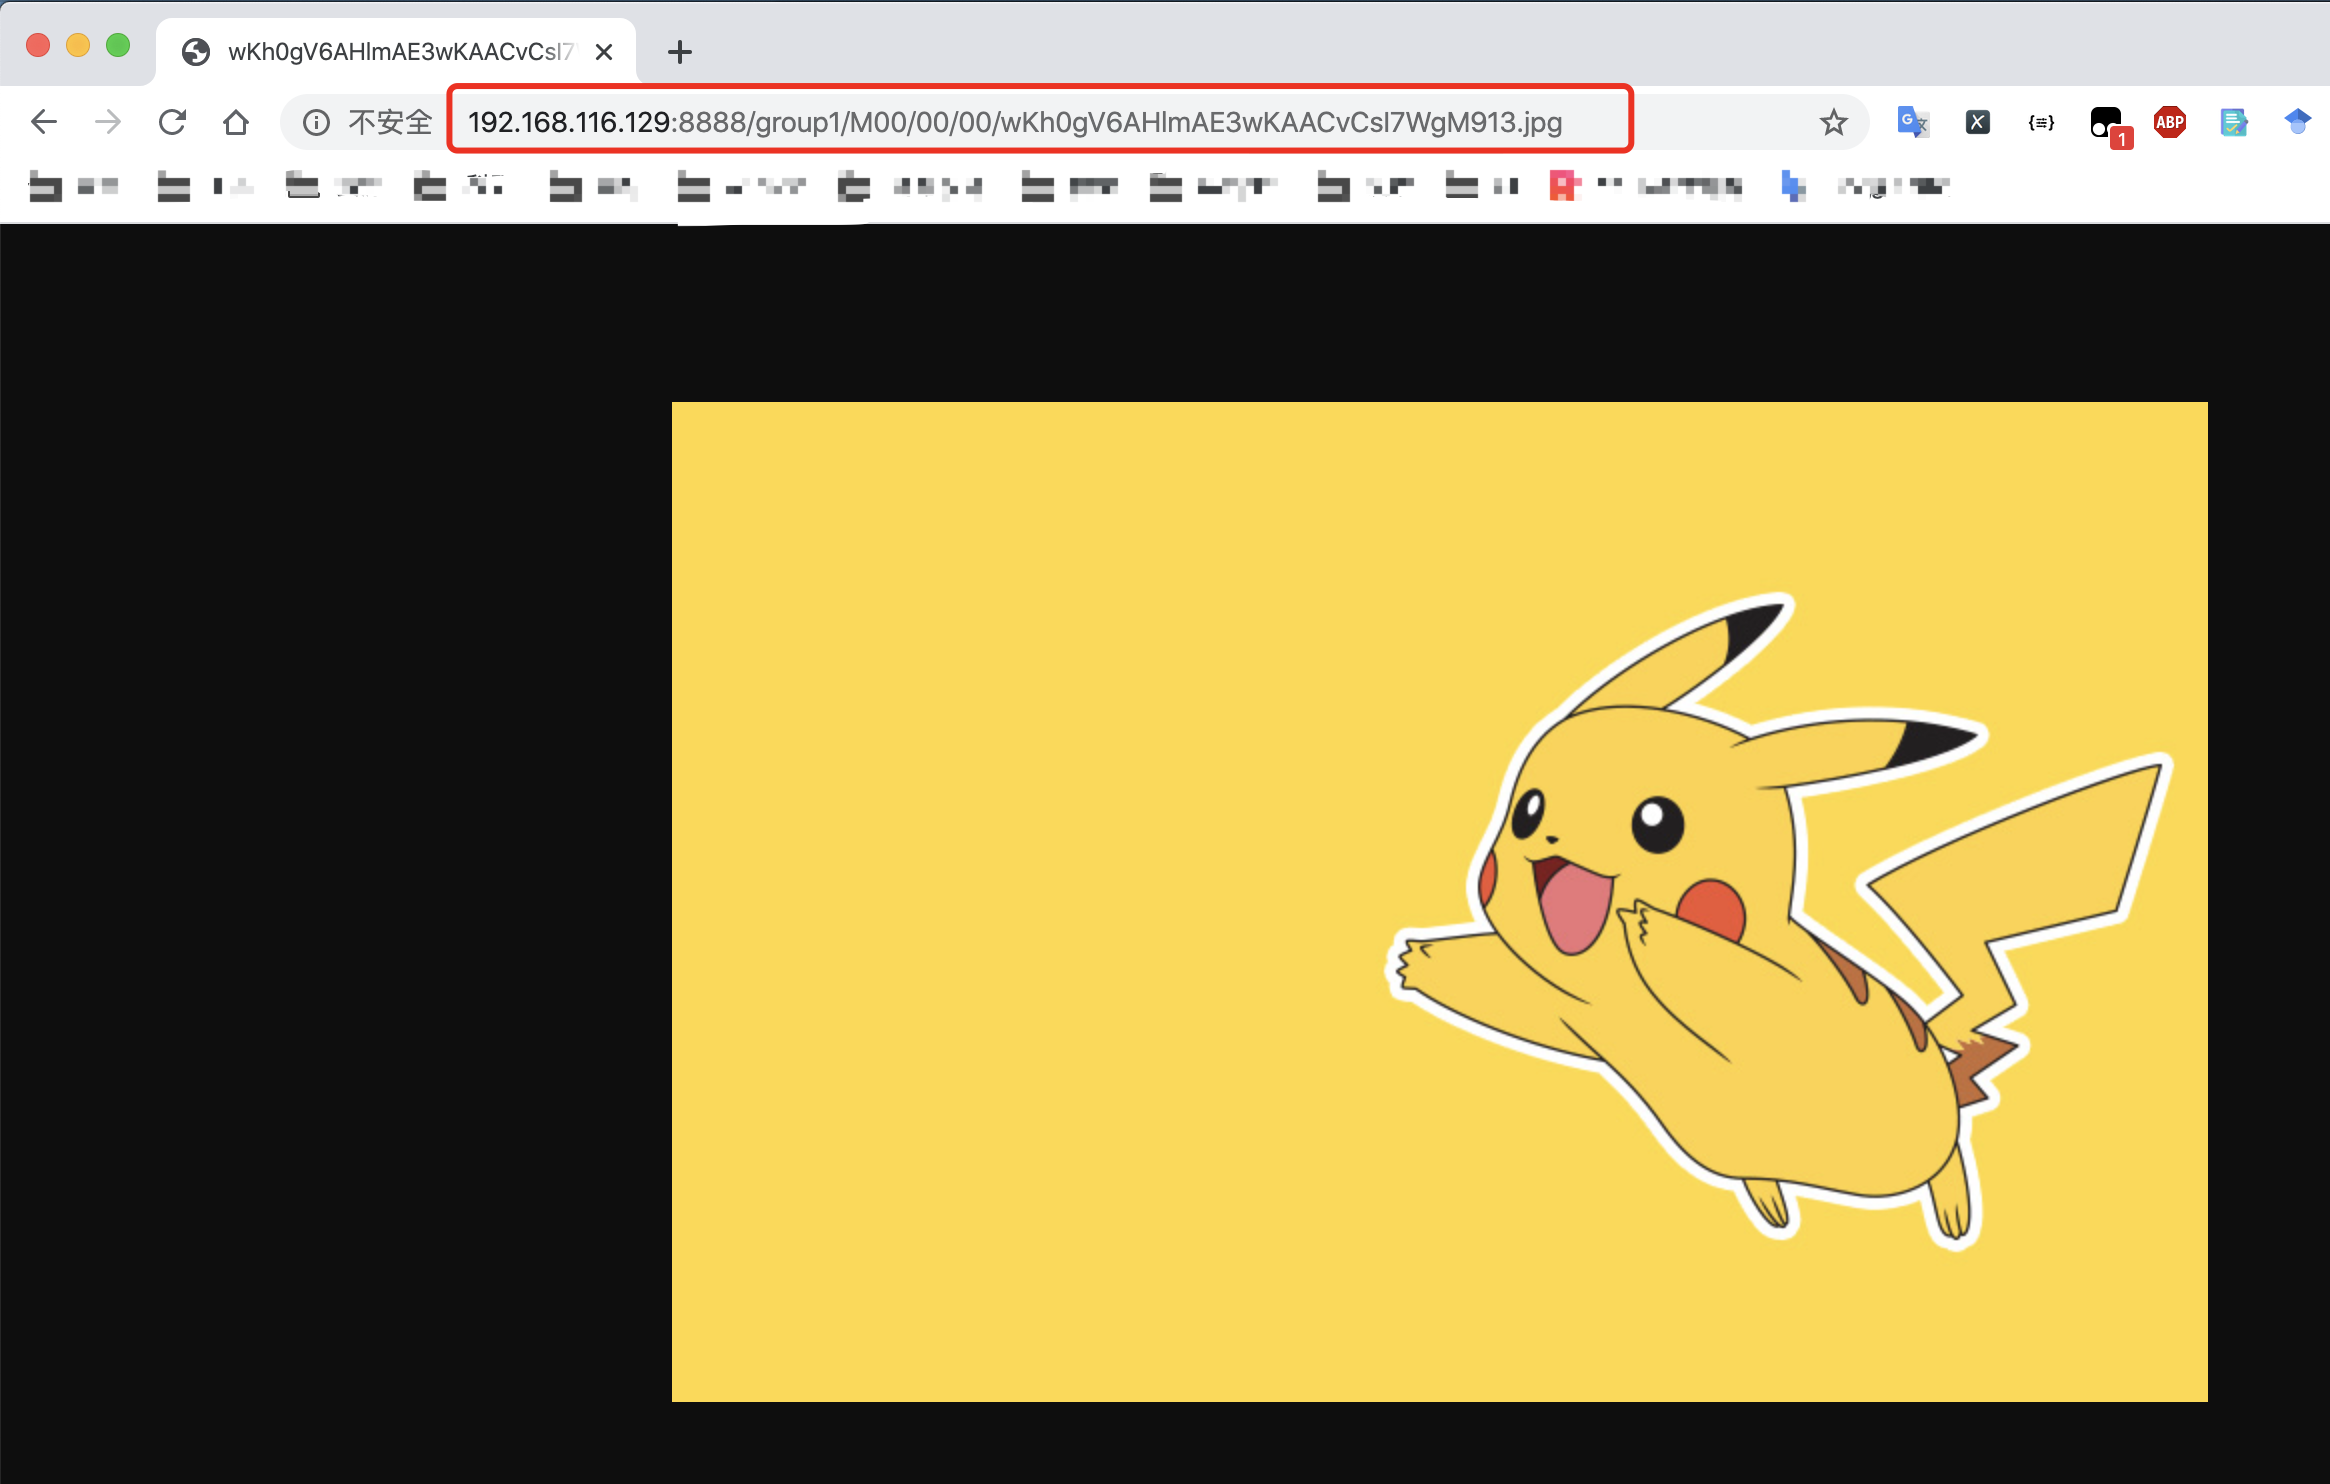
至此,FastDFS 的安装以及对应 Nginx 配置完成。
查看作者信息